

Enjoy the free pumpkin carving stencils for a Happy Halloween with these simple instructions for use. Also, feel free to check out our post for carving a pumpkin like a boss. Happy Carving!
Tools
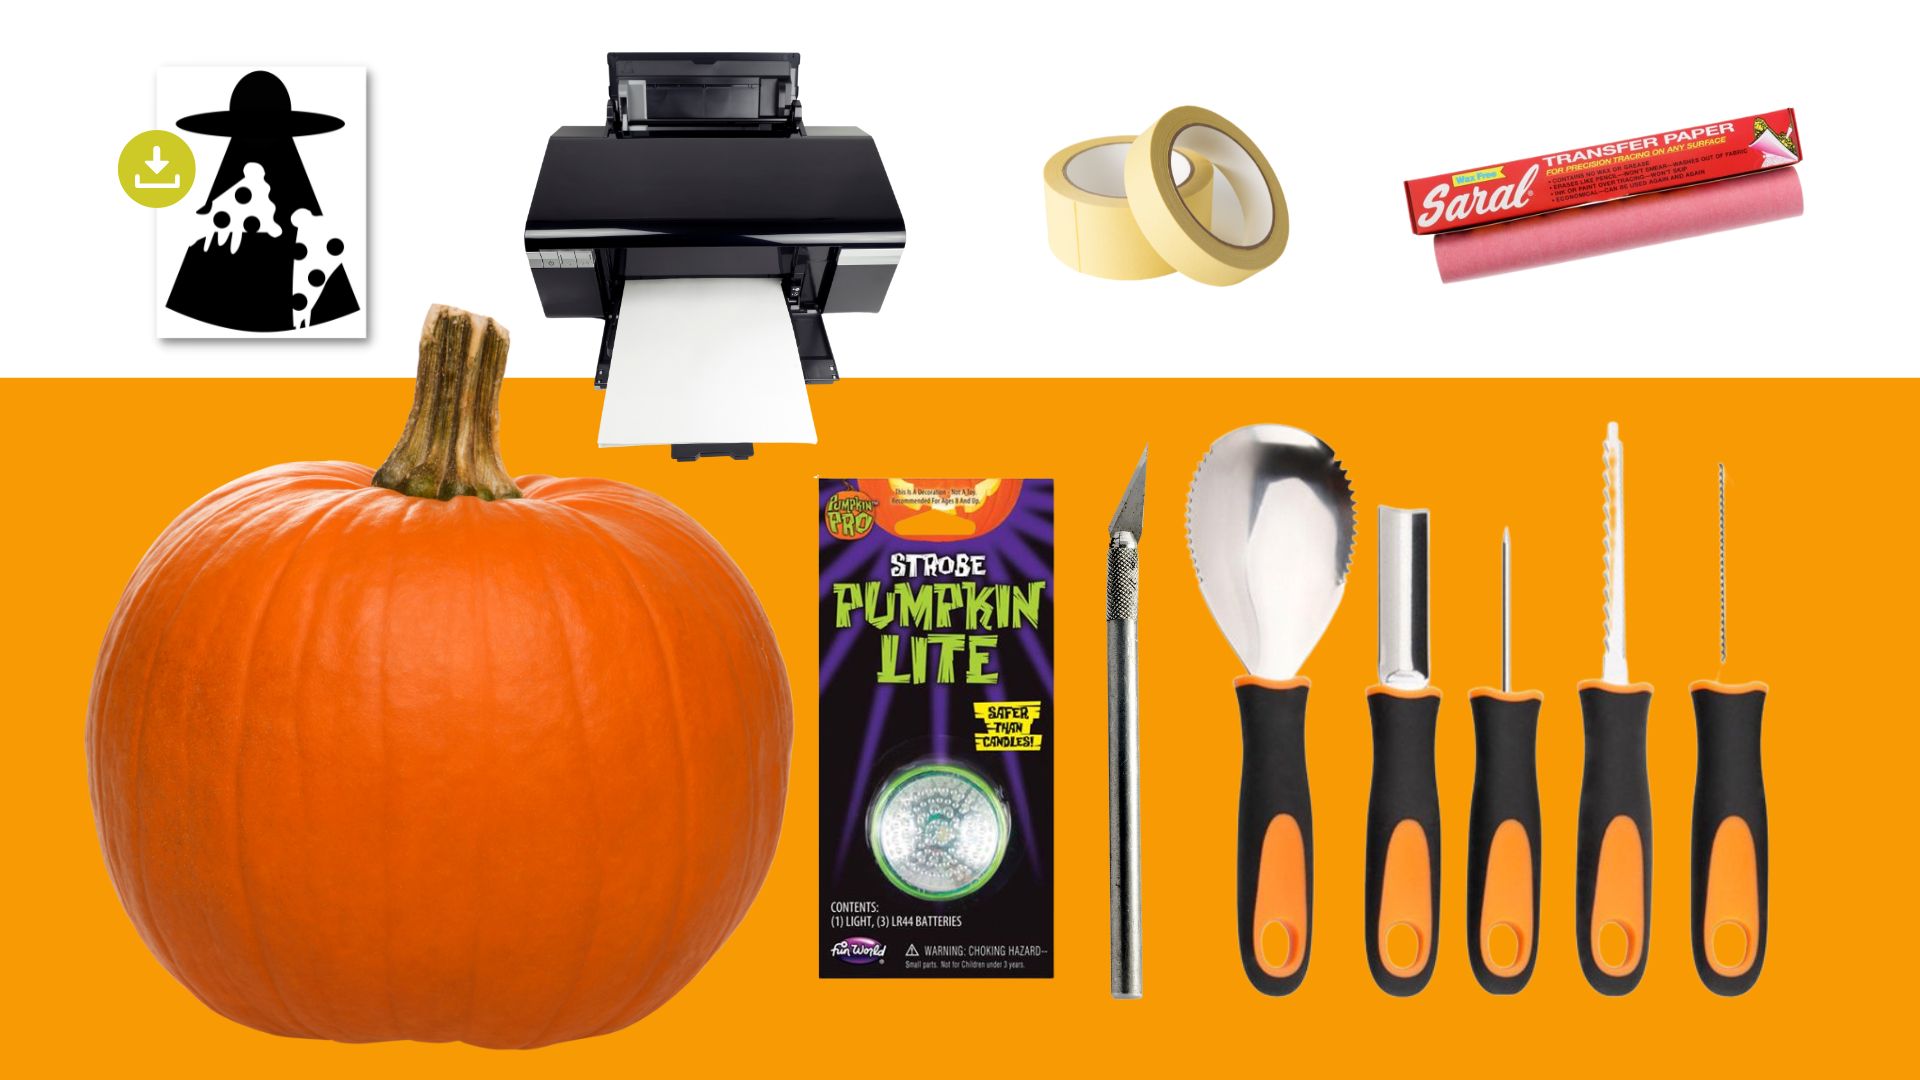
It really depends on the project you are trying to do, but here are the basic tools you want as a starting point.
- Pumpkin
- Printer
- Transfer Paper OR Tape and Awl (pokey device)
- Pumpkin Carving Saw or Knife
- Exacto Knife (optional)
- Battery operated Pumpkin Votive
A basic guide on how to use our free Halloween Pumpkin Carving Stencils and Patterns
Download the Pumpkin Stencil
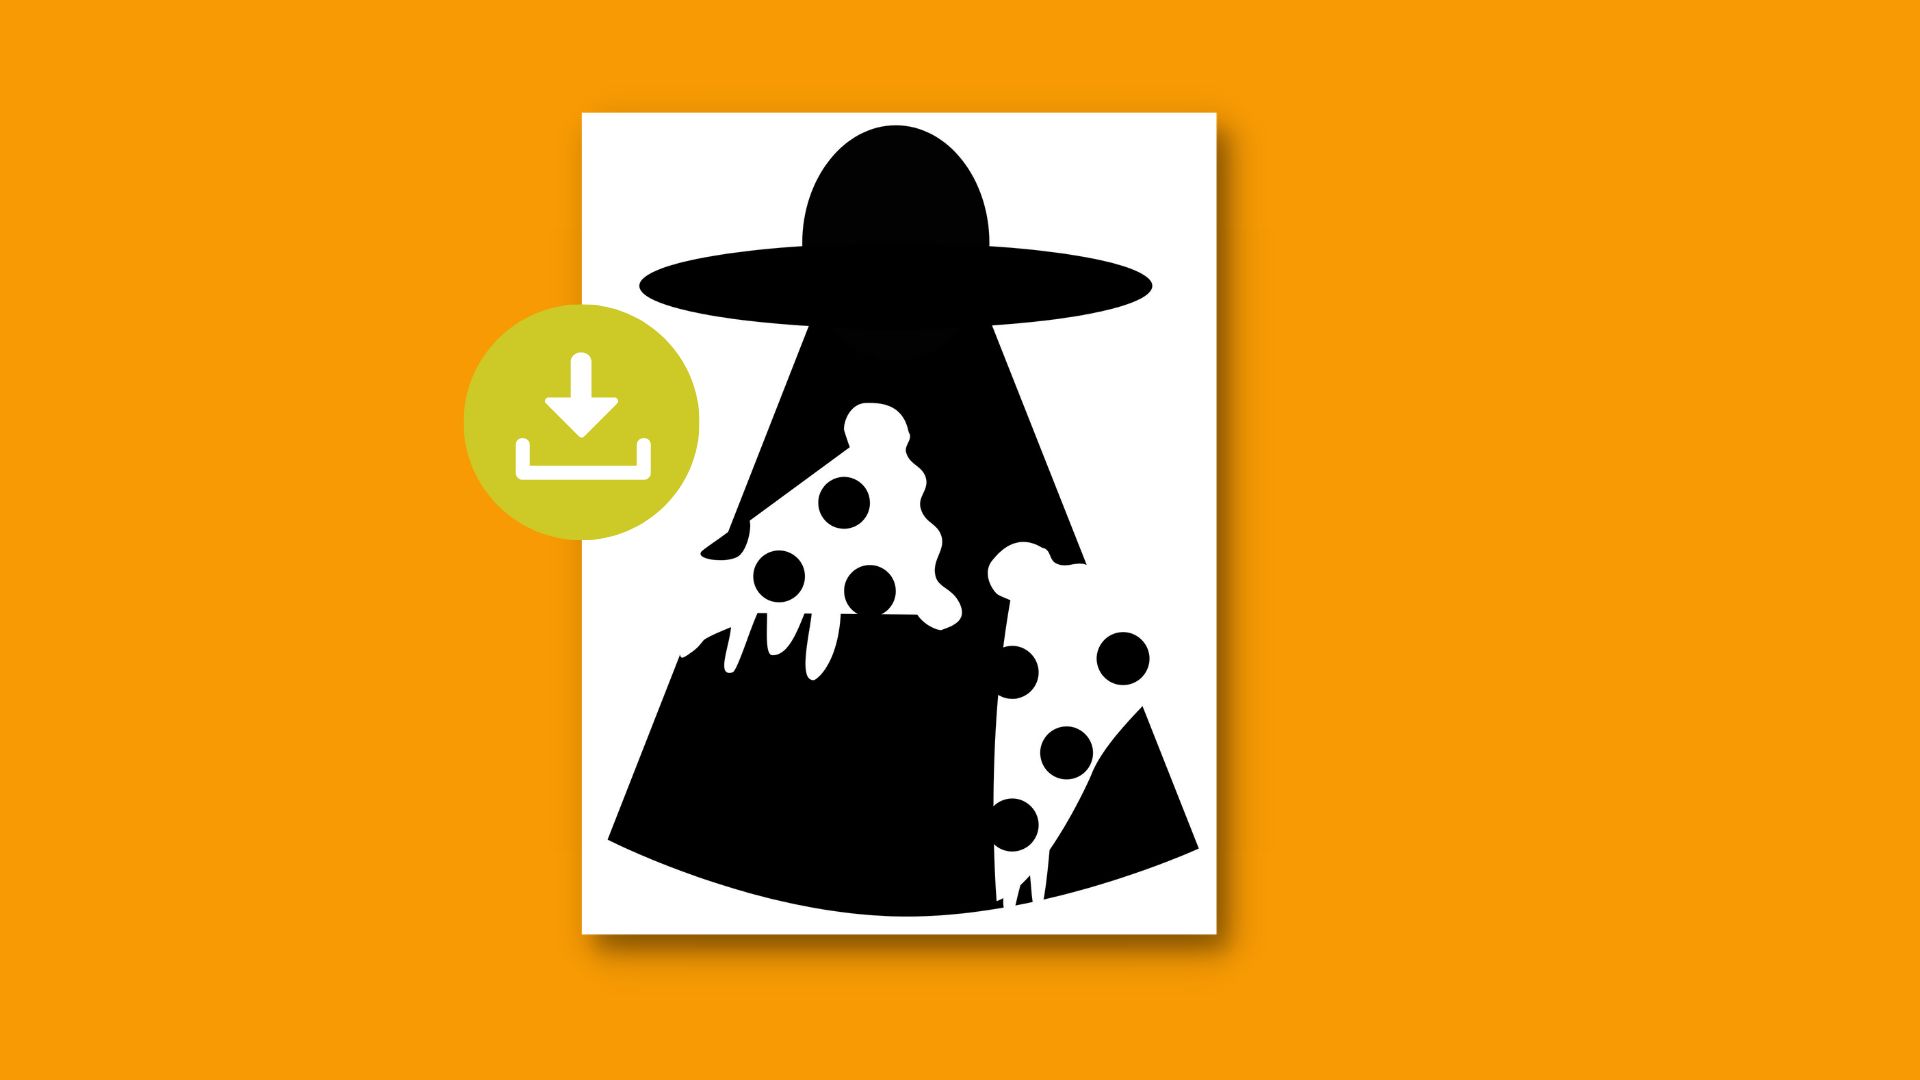
Several methods of download are available for each stencil or collection of stencils. They include PDF booklet, the SVGs, a link to a Canva Template, and individual PNGs. Download any which way you’d like.
Print the Pumpkin Stencil
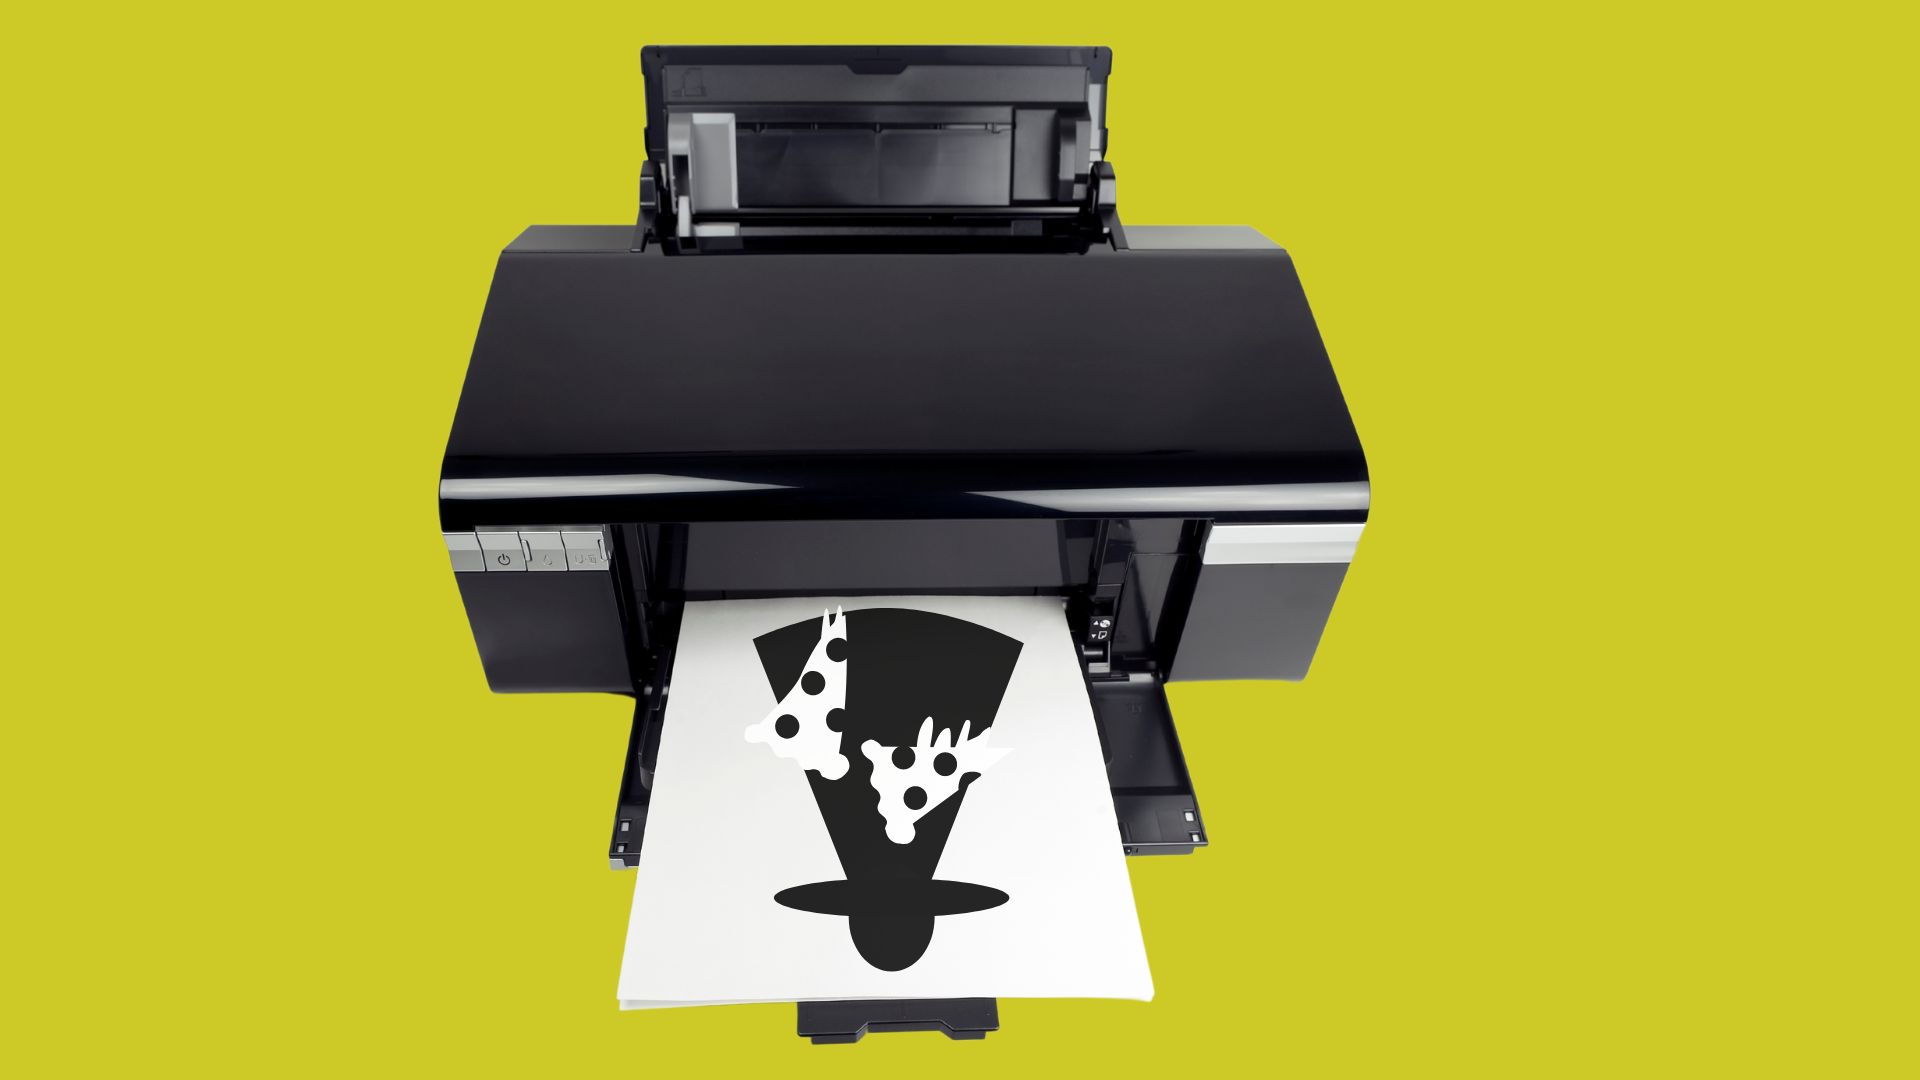
Measure the height of the place you wish to have your design on your pumpkin. Keep in mind where you plan to make a pumpkin hole (whether lid or butt) and give space for that. Size your stencil according, or print up the best size from the PDF booklet.
Prep your Space
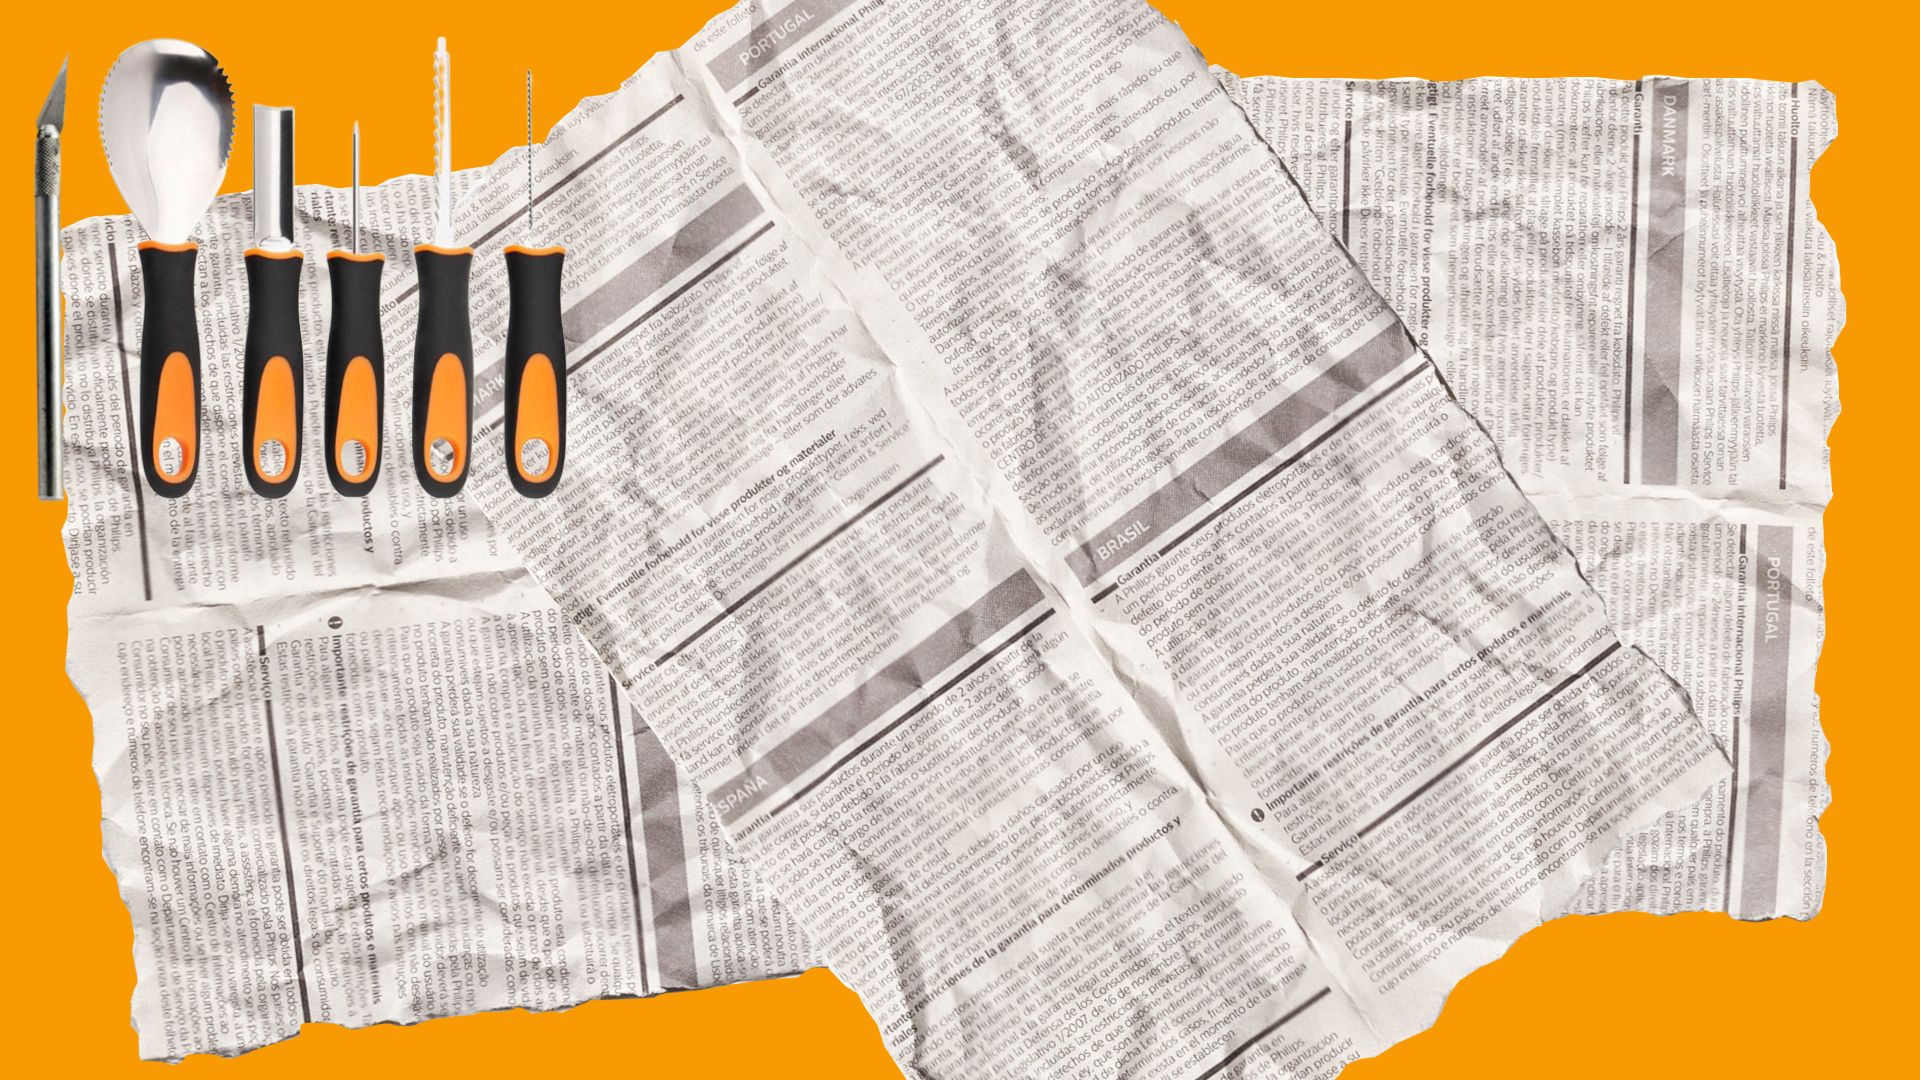
Most people lay out newspaper for this on a table on account of the havoc this step ensues. If you do not plan to use the pumpkin guts at all, especially if you are letting kids gut their pumpkins, I recommend taking this part outside. Somewhere where you don’t mind leaving “compost.” Beware, the neighborhood children may want to join in, and so it’s nice to have extra pumpkins. It takes a village.
But if you are planning to utilize pumpkin seeds and pumpkin mush, it might help to do this at the sink with strainers handy.
Cut a hole
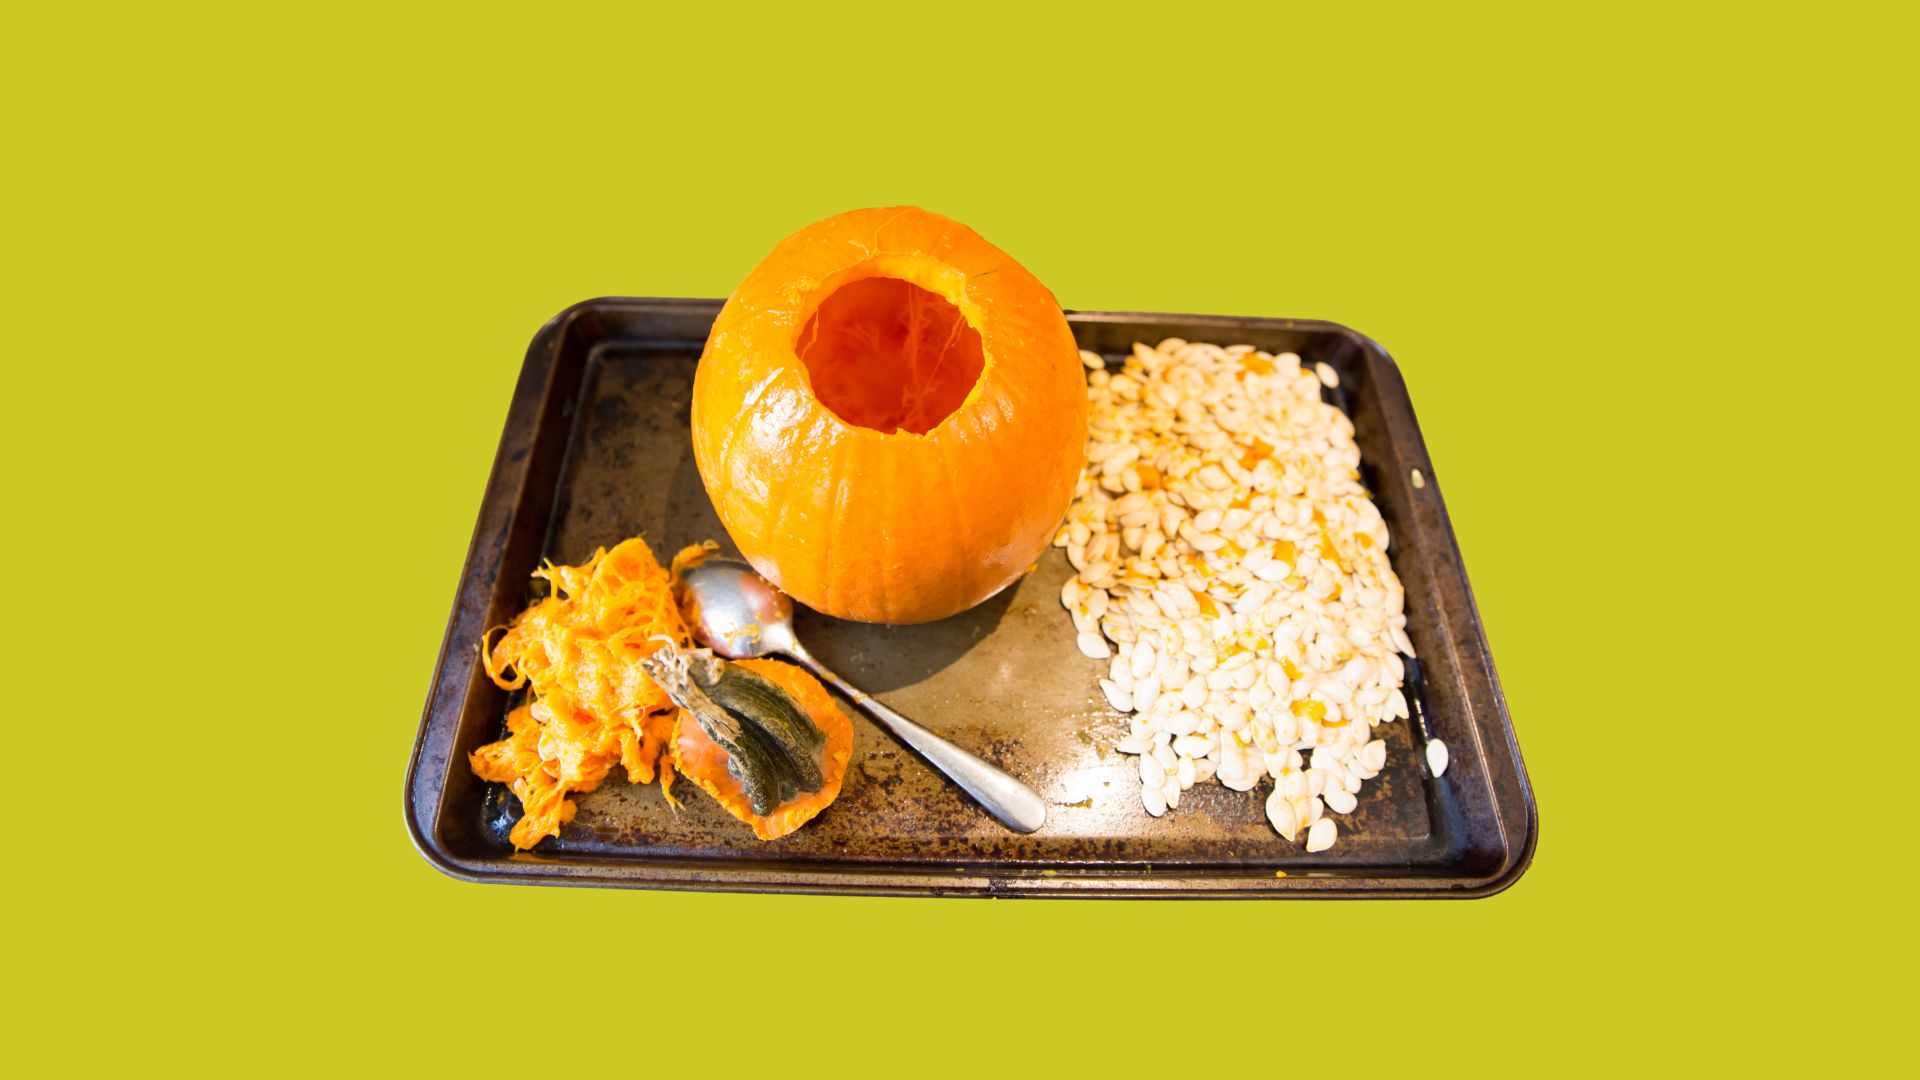
Decide where you want the pumpkin hole. Many people cut a hole at the top around the stem and use the stem as a lid. Another concept (especially with foam pumpkins) is to cut a hole at the bottom and set the pumpkin on top of a light. If you use a top hole, you want to carve at a 45 degree angle around the stem. It helps if you carve a small V somewhere in that circle outline to help you know how the lid goes on. A hole at the bottom can be carved any which way.
Gut Pumpkin

After you remove the pumpkin lid, you want to gut out the pumpkin. Use your hands to yank out the bulk of the pumpkin flesh and seeds. At this point, you may want to separate seeds from pumpkin guts to toast seeds later (baked in oven or air fryer) and/or make food using leftover guts. Then use a scooper tool or ice cream scoop to scoop out the rest.
I like to scrape the inside of the pumpkin to thin it down for most pumpkin carvings and reduce the stringiness. I generally scrape about 1/8 of an inch beyond the darker orange strings.
Transfer Design to Pumpkin

The most common transfer technique is to cut the paper close to the design, and possibly cut some horizontal lines or vertical lines to the design (without cutting into the design) to help paper fit over the curvature of the pumpkin. Then generously tape to pumpkin and use a poke device like a pushpin or the thing that comes in a pumpkin carving kit, and poke holes 1/8 inch apart along the outline you wish to carve out.
Other methods include using a transfer paper to trace the design to the pumpkin, such as Saral Transfer paper or coloring the back of your paper with a thick layer of pencil. Additionally, you could use an exacto knife to cut out a stencil to color onto the pumpkin with magic marker.
Carve Pumpkin
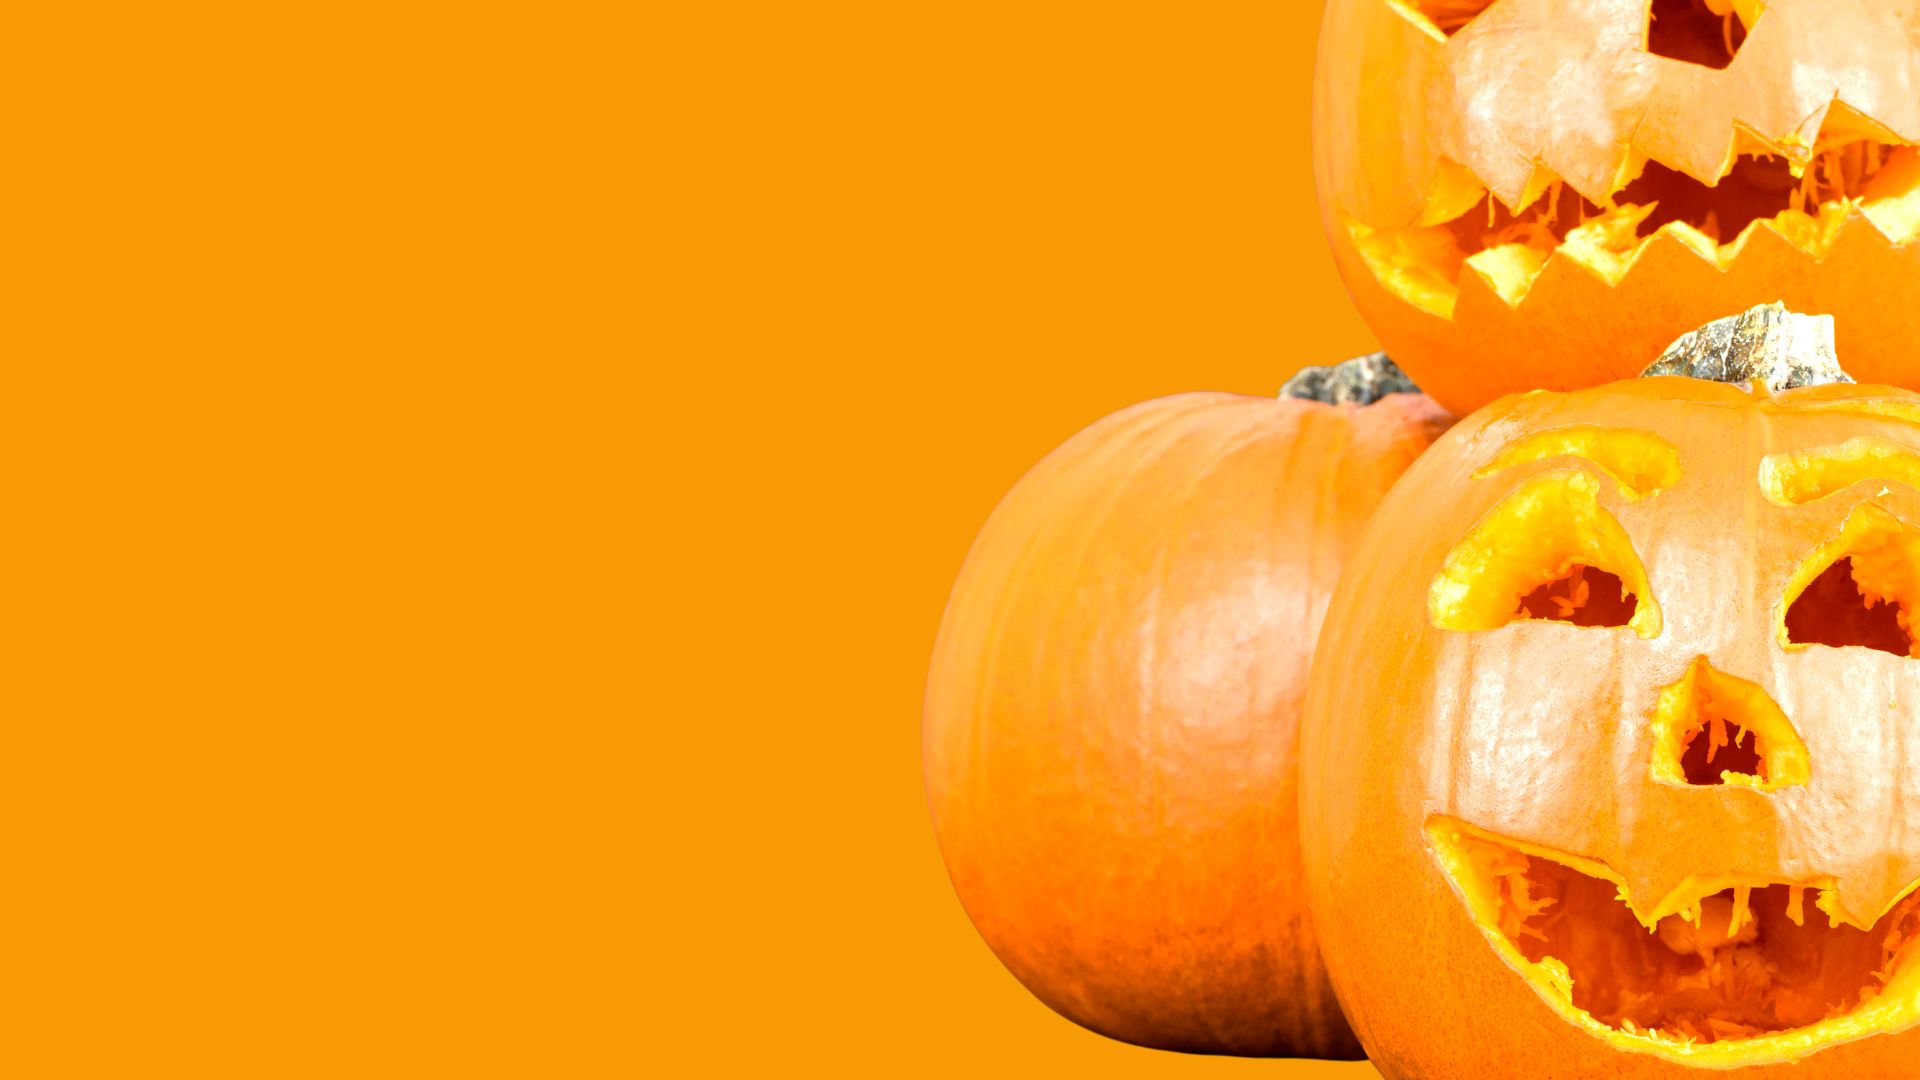
Remove design and start carving. There’s no right way or wrong way to carve a pumpkin, but it does help to consider the pumpkin stencil and pumpkin thickness. As you carve, pieces get thinner and can break easily with the same pressure to it. Say you are trying to carve a wolf in front of a moon. Once you carve the moon out, then if you start carving anything in the wolf, it might break off easier. Instead, you want to first carve the interiors of the wolf and then carve out the big moon hunks.
So start with the fine intricate details with a smaller pumpkin saw, and also the smaller pieces to be removed. Work your way up to the bigger chunks.
Sometimes it helps to break down bigger chunks into smaller pieces, especially for removal. Such as if a large rectangle were to be cut out, it might be easier to turn that into two squares.
Pumpkin Carving Tip – You may find an exacto knife to be handy to help push or pull out pieces, especially smaller pieces, and to help clean up and smooth out the pumpkin edges. Often, we don’t carve at a complete 90 degree angle, and you might find the interior edge being higher than the exterior edge of a cut, and an exacto knife can kind of scrape into more of a flat edge for better lighting. Plus it can help clean up stringies.
Pumpkin Pro Tip – Sometimes it helps to put an electric battery operated votive in the pumpkin while you carve (and remove as need be) to see how it’s going to look with the light. You might carve out half the pattern in light, and then carve part of it in a dark room with just the electric votive inside the pumpkin.
Light it up
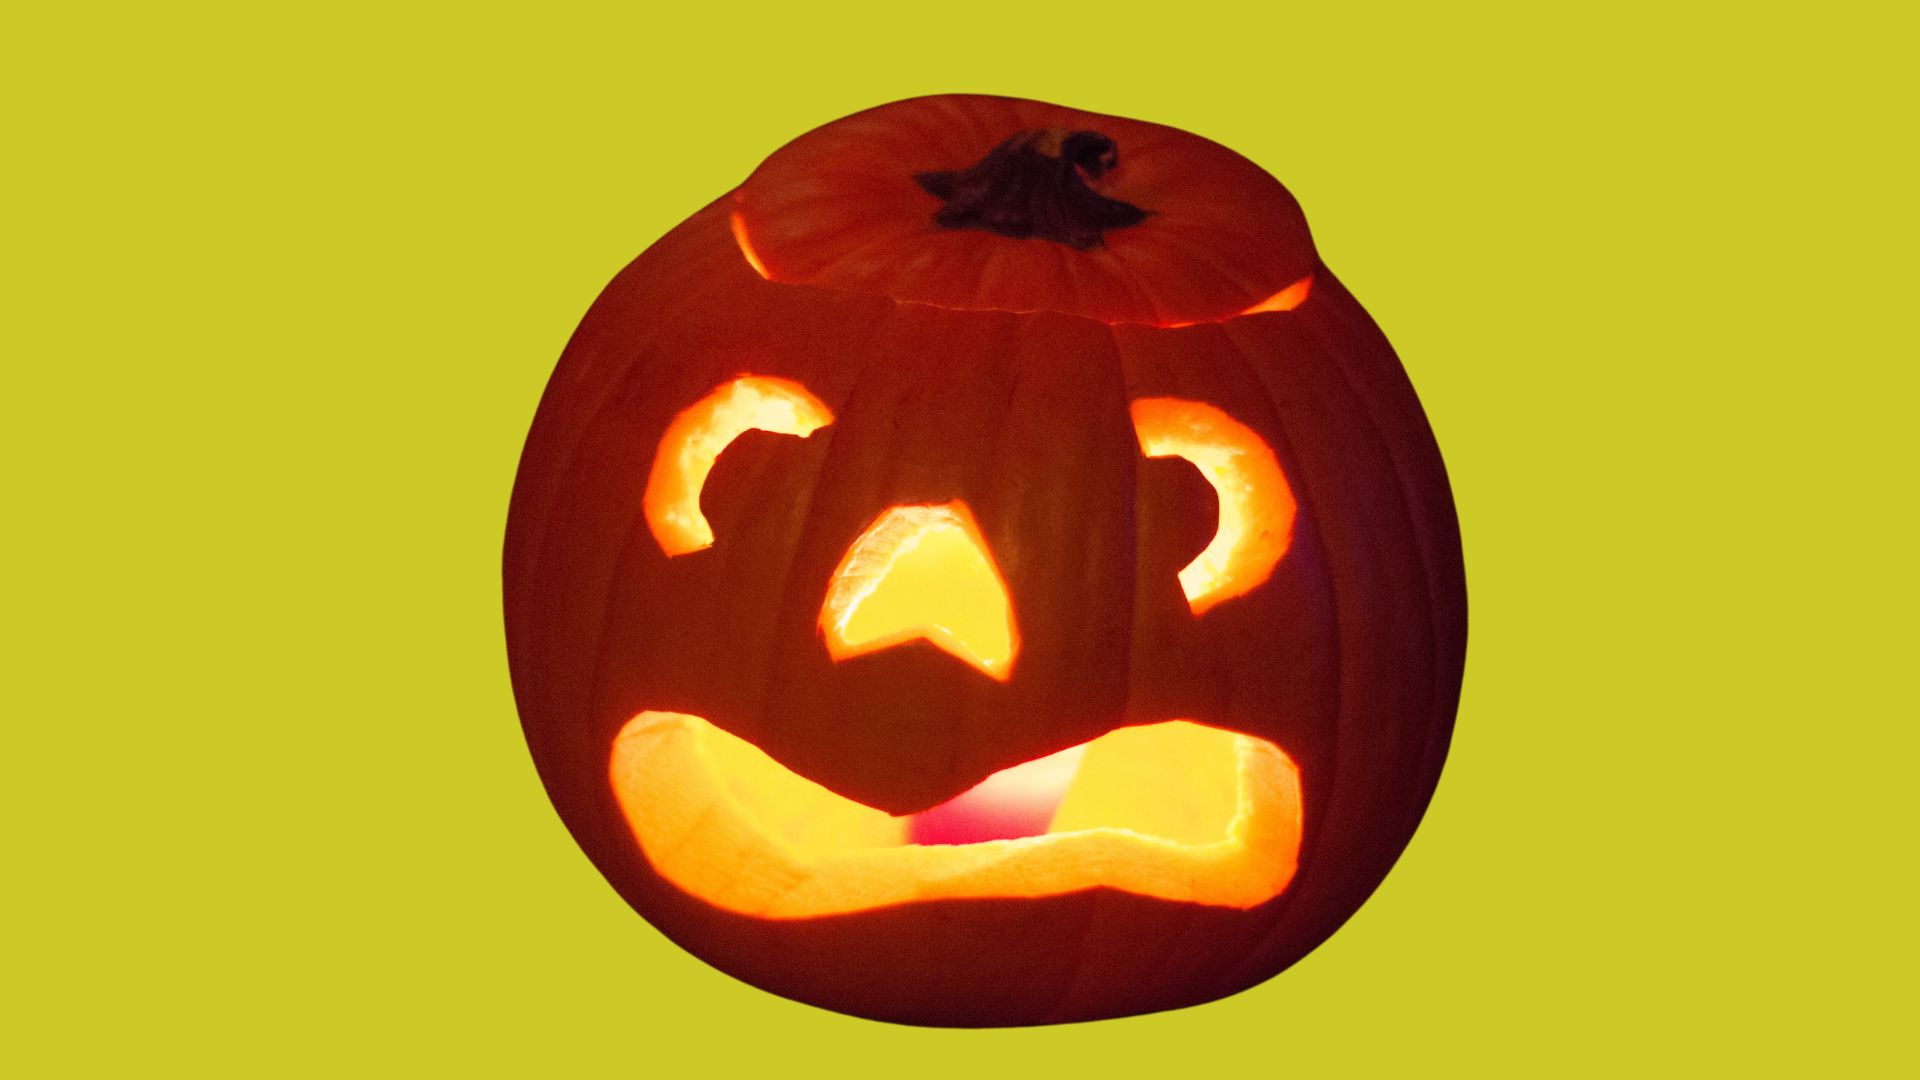
Clean out interior residue and pieces from the inner part of the pumpkin. Wipe down the exterior of the pumpkin. Place an electric battery operated votive inside.
Be Extra if you Want
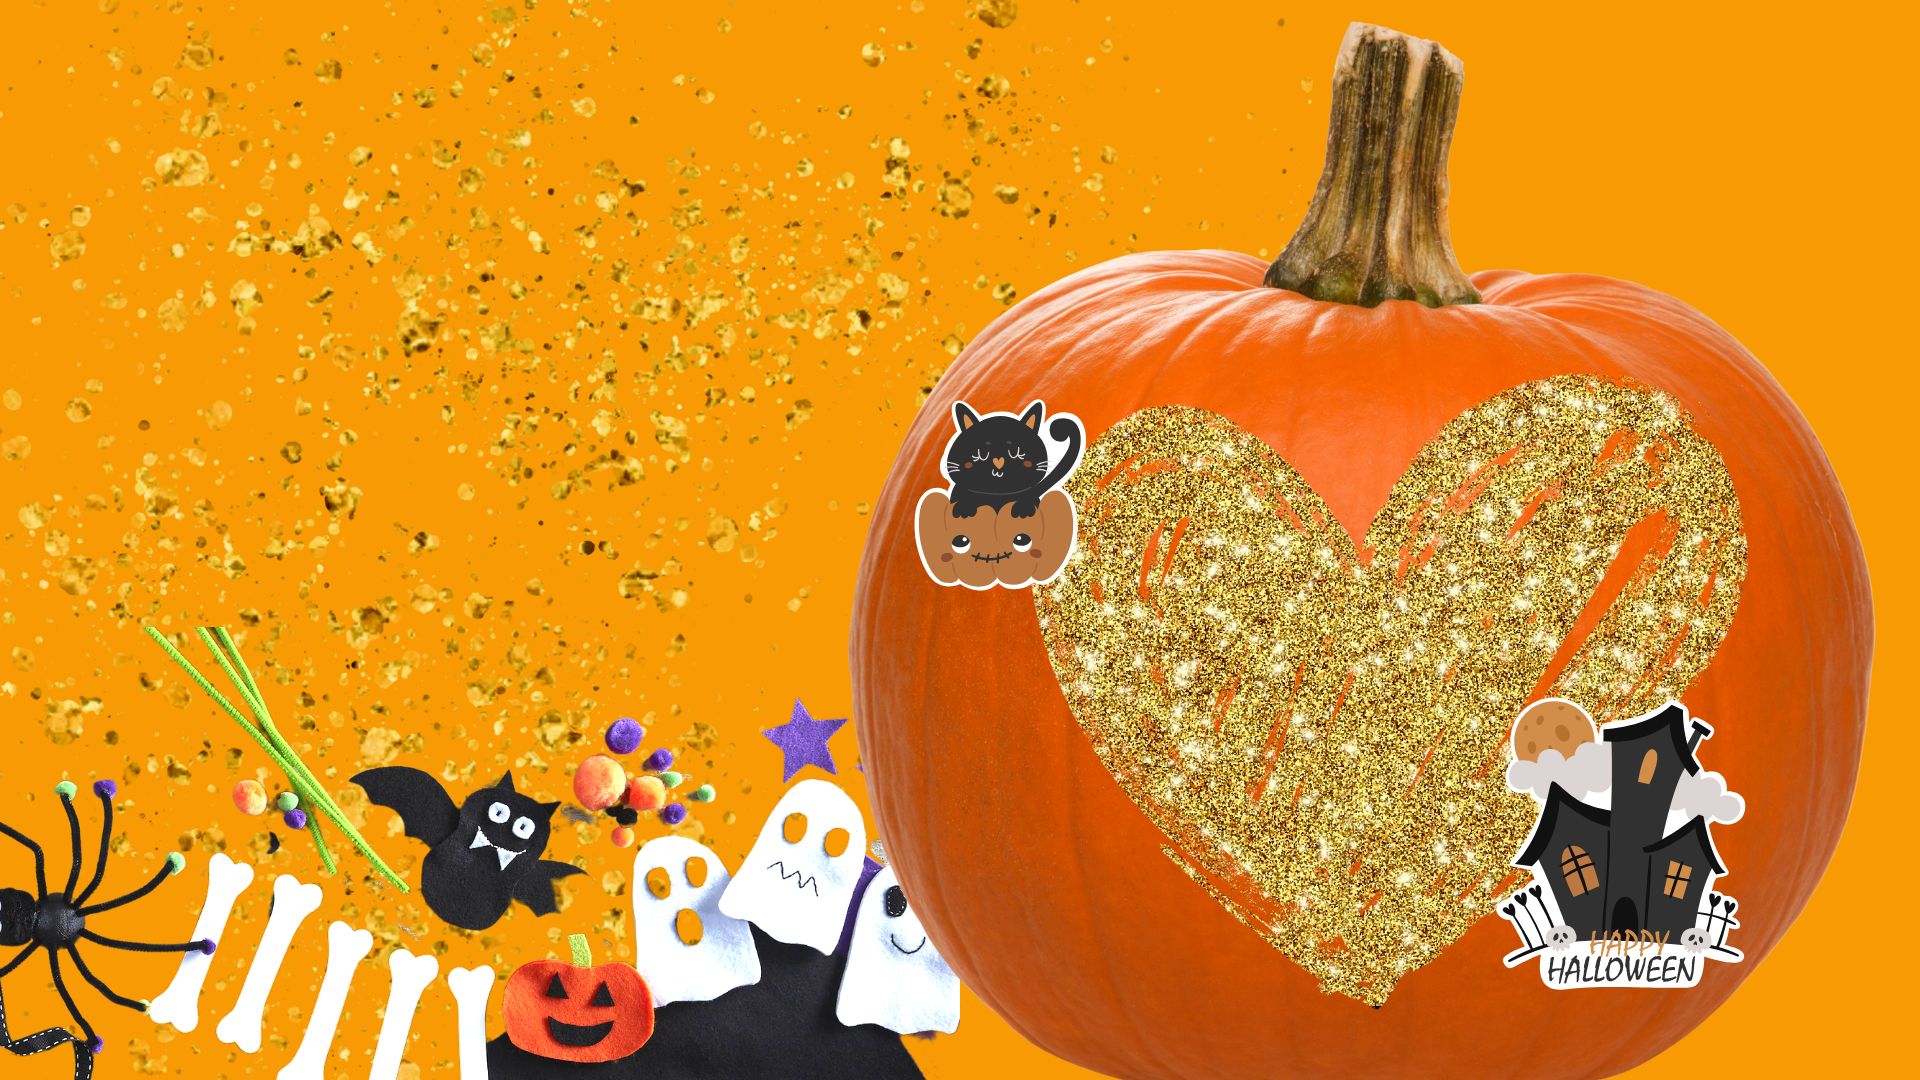
You can also additionally paint, put stickers, or glue festive objects to said pumpkin. Instead of using a votive, you may use a string of lights.
How to Download a PDF
Some of the stencils are in PDF format, or compiled into a small e-book. They are already sized for Letter Pages (8.5″ x 11″) and A4 (210 x 297 mm). Additionally, within the book, they are sized and ready for print for Large Pumpkins (10 inch image height), Medium Pumpkins (8 inch image height), and Small Pumpkins (6 inch image height). All you have to do is open the file and print.
Simply click the download button for your preferential document size, and a new tab should appear with the file. From there, you can print or save.
If you are having issues, you may need Adobe Acrobat Reader. It’s free.
More in-depth instructions for downloading a PDF
How to Download SVG’s
The benefit of the SVG file is the preservation of the image. For purposes of here, you can upload the file to Canva to size on any sized document available to you. In Canva, you can also change the colors. You can also open the file in a vector program (or import) to make changes. Additionally, you can use SVGs in Cricut machines to cut out shapes individually (instead of one huge shape).
In essence, you want to
- Click on the download link
- Find file in your system (Download Folder)
- Right click, Extract to Here
- Find Folder, double click
- Voila SVG files
Once you click the link or button to download, a ZIP folder should download into your specified download folder (usually it’s Downloads).
To unzip, if you already have software in place, just right click the file, and choose Extract to Here to unzip to the same file location as the zipped file, or choose Extract and then choose where you’d like the file to show.
If you do not have any kind of “extract” option when you right click, then you will need to download zip software. There are many paid options, but I recommend 7-Zip because it’s free and worthy… and it reminds me of 7-Up the beverage (Diet Cherry 7-Up with some vodka or wine is the bomb diggity) and it reminds me of the heads up 7 up game I played in elementary school.
Once unzipped, a new folder should appear with the same title as the zipped file with the SVGs in them. They can then be opened in Adobe Illustrator, Inkscape, or imported into Cricut software or uploaded into Canva.
How to use the Canva Link
If you click on the link to a Canva Template, a tab should appear that says Michelle Grewe wishes to share a template with you.
Hi. I’m Michelle Grewe. That is from this site. I have no idea if you do this. It does not show up on my account anywhere that you used my template.
If you click through, Canva will ask you to log in or create an account with them. If you do not have a Canva account, you are more than welcome to sign up for a FREE account to use these templates. While you do not need Canva Pro to access templates, I do love Canva Pro if you are interested in learning more about that.
A canva design or project should open up that contains image files of all the stencils in the specific collection. From here, you can…
- download any one image or all of them
- download as PNG, JPG, or PDF… or as SVG (in pro)
- copy and paste into a different Canva design
- change the colors
- change the size
- add other elements and shapes
- resize the document to any dimensions (in PRO)
If you want to have the image files in your “Uploads,” I suggest downloading the free SVGs from this site and uploading them into Canva, but you can also download the image from Canva as a PNG or JPG. Note, you cannot change the colors on a PNG or JPG and those images will pixelate when made bigger. However, the original svg will still be available in your template to change size and colors as long as you don’t delete it.
How to Save Individual PNG’s
Simply find the image you’d like to save from the gallery, and you can either right click the image and choose save as, or click on the image to get the full sized image, then right click on the image and choose save as.
Change the name of the image if you’d like. Choose the destination folder. And then click save.
On phones and devices, touch and hold over the image until an option box appears, and then tap Download Image.