

Can you have a festive Halloween without glowing pumpkins? Probably, but why would you when you have access to these amazing instructions on how to carve a pumpkin like a boss?
No matter if you are carving one of these free pumpkin stencils or attempting some intricate carving, these instructions are a good strategy.
3 Main Pumpkin Carving Techniques
Remember that art is art. There are no rules for how to carve a pumpkin. But for the most part, these three primary techniques are often found in pumpkin carving, some utilizing only one technique in their entire design while others often incorporate a variety.

You may have seen many pumpkin master work in the darker corners of the internet, like Pinterest, that has you like, “Woah.” A lot of that seems so unachievable, but like most art, it’s more in reach than you think. You just need the right tools, and learn a little about method and like 9th grade art class, you can make anything.
1 – Basic Sawed Out Pumpkin

The most popular pumpkin carving technique is your classic day with the kids pumpkin carving where you transfer a design you find, carve out the black spots, and light up the insides so the carved out section glows….
In this method, you gut out the pumpkin, and then cut all the way through to make shapes.
2- Etched Pumpkin

This pumpkin carving technique allows you to get more details and shading by using a similar technique to Linocuts and Woodcutting often used for printing, but reversed.
In Linocut, you cut into linoleum to erase the places that will show up in print. So that only uncarved portions receive ink.
Here, you carve into the pumpkin to create places that will light up when the pumpkin is lit, and the further you carve in, the brighter it will be with light inside the pumpkin. Some spots, you may carve all the way through like the saw technique.
3 – Sculpted Pumpkin

This technique basically sculpts the pumpkin like clay. Instead of gutting out the innards to put a light in, it generally shapes the innards utilizing all the gut, though that’s not required. Here you can get the most realistic looking faces maximizing full use of detail.
Tools
Like any art, the secret sauce to any technique is in the tools.
There are many tools here I bet you didn’t know about that could totally change your pumpkin carving game.
You do not need all of these. Let’s cover the basics and then get into Pumpkin Carving Optimization.
Basic Pumpkin Saws from a Cheap Kit
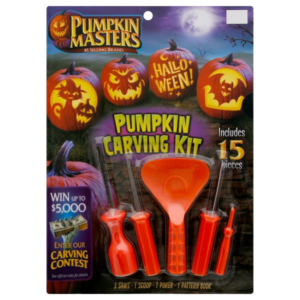
With these, you can do your basic, beginner pumpkin carving templates, with your kids with ease. For most of the free templates here, this is all you need.
Linoleum or Wood Cutting Carving Tools
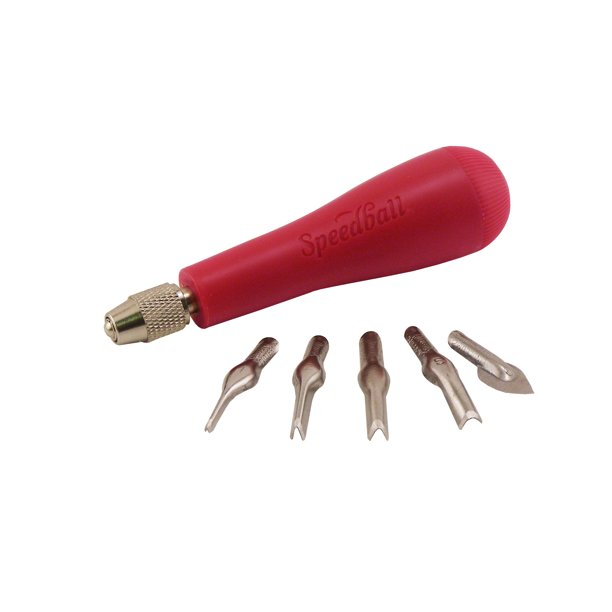
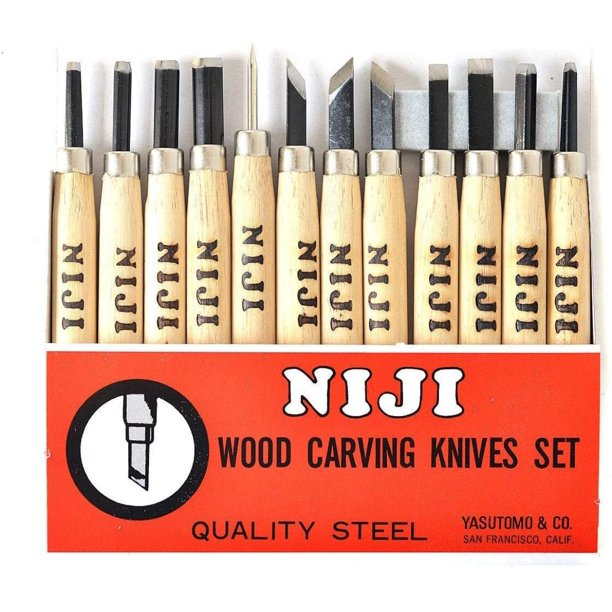
These are primarily used for what they are advertised for, to etch into linoleum (to make rubber stamps) or wood (to carve). Both of these work on pumpkins if you bought these products specifically. I have noticed in my experience that cutting into uncarved pumpkin is easiest with the Linoleum cutters, and cutting into already carved pieces are easier with the woodcutters.
If you are wondering how to carve a pumpkin with these, all you do is scrape and glide to etch into a pumpkin, which can be used for gray areas of the pumpkin stencil.
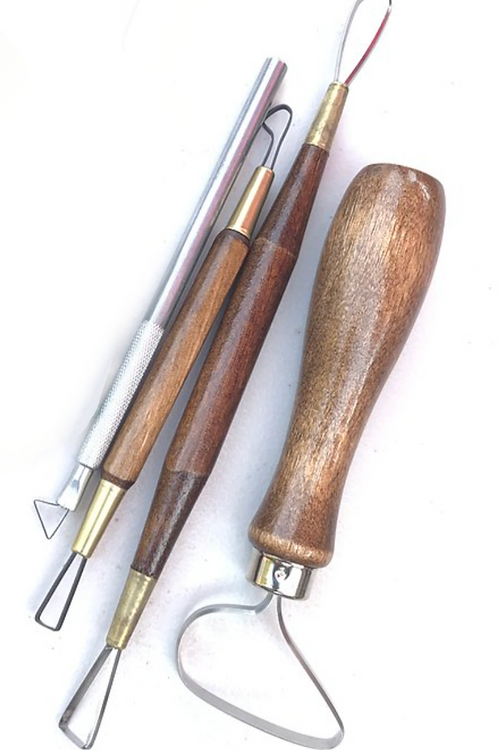
Clay Sculpting Tools
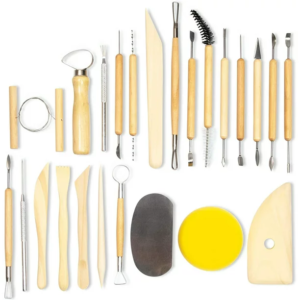
These are primarily used for sculpting clay, pottery and embossing. The ones with the round scrapy vibe are often used in pumpkin sculpting to get those cool faces. If you want to know how to carve a pumpkin with these, the videos at the end of this post will take you there.
Better Pumpkin Carving Tools
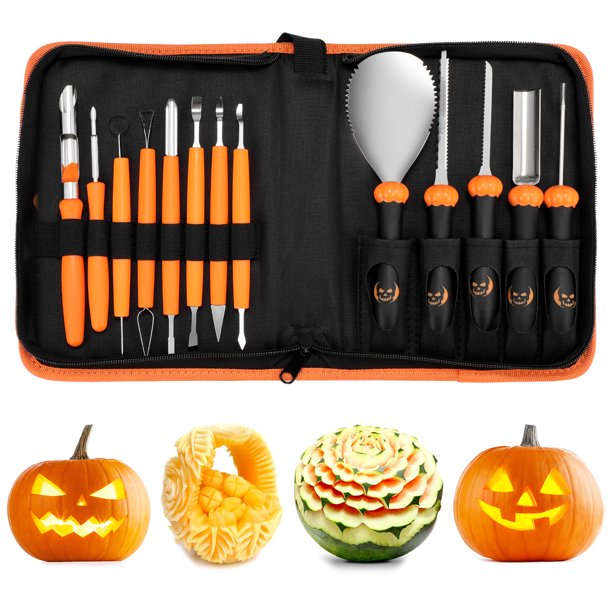
Neill Art Studios sells his own pro-pumpkin carving starter kit with his most highly recommended tools for sculpting. If you are a beginner with that, he might be the best start. He shows how to carve a pumpkin using his tools in a video I will share below.
You can find a medley of all the above in varying kits online with Amazon and Walmart.
Additionally, a Microengraver Toolset might be easier, especially if it has some cool other attachments like a drill.
Also, an exacto knife set to help really get those details.
Other Tools
Beyond your carving strategy game, these are highly recommended to have on hand…
Additionally, it might be nice for that extra to have the following
- Acrylic Paint + Protectant
- Stickers
- Bling Stickers
- Glue Gun + Glue Sticks
- Super Glue
- Cheap Halloween Decor
How to Carve a Pumpkin – Basic Steps
First, you want to choose what you want to carve and how you want to go about it. If you want to get into pumpkin sculpting, that is more art and a different strategy than what I’m about to show here. But keep scrolling to see an awesome video on it.
For purposes of these free pumpkin stencils, I’m going to stick to a basic how-to for an ultimate pumpkin experience…


How to carve a basic pumpkin like a boss
Cut and Gut

Cut a hole on top of the pumpkin around the stem at a 45 degree angle and gut out the innards. Save the seeds and roast them later in your air fryer. Or you can do a bottom hole. A pumpkin butthole so to speak. Where you carve out any angle you please at the bottom of the pumpkin, and gut it upside down. This method is better if you are using any lighting that may require a cord to be plugged in.
Print Up Your Design

If you are using our awesome free pumpkin stencils, you will first want to print that up (or trace it from the computer screen if your printer is broken, we won’t judge). Then cut the paper down to the design leaving a 2-4 inch margin. Cut any lines you need to help make the paper fit around the curvature of the pumpkin if necessary.
Transfer Image to Pumpkin
Method 1: The easiest way to transfer the design is to trace it using the recommended Saral Transfer paper.
Method 2: Color the back of the design with a #2 Pencil as thick as you can. Color enough to cover the design a big pencil blob, a thick one, with layers of pencil. Then use that like tracing paper.
Method 3: If the design is very basic, you may find it best to just tape the printed stencil onto the pumpkin, and poke holes into it about 1/8 inch apart. This might make carving easier by perferating the pumpkin. If you are poking the holes as a responsible adult, you might decide a drill with a small bit might be easier.
Method 4: Take the printed stencil and cut it out of the paper using either a cricut or an exacto knife. At that point, you could simply color the holes with a black magic marker.
Start Carving the Juicy Details
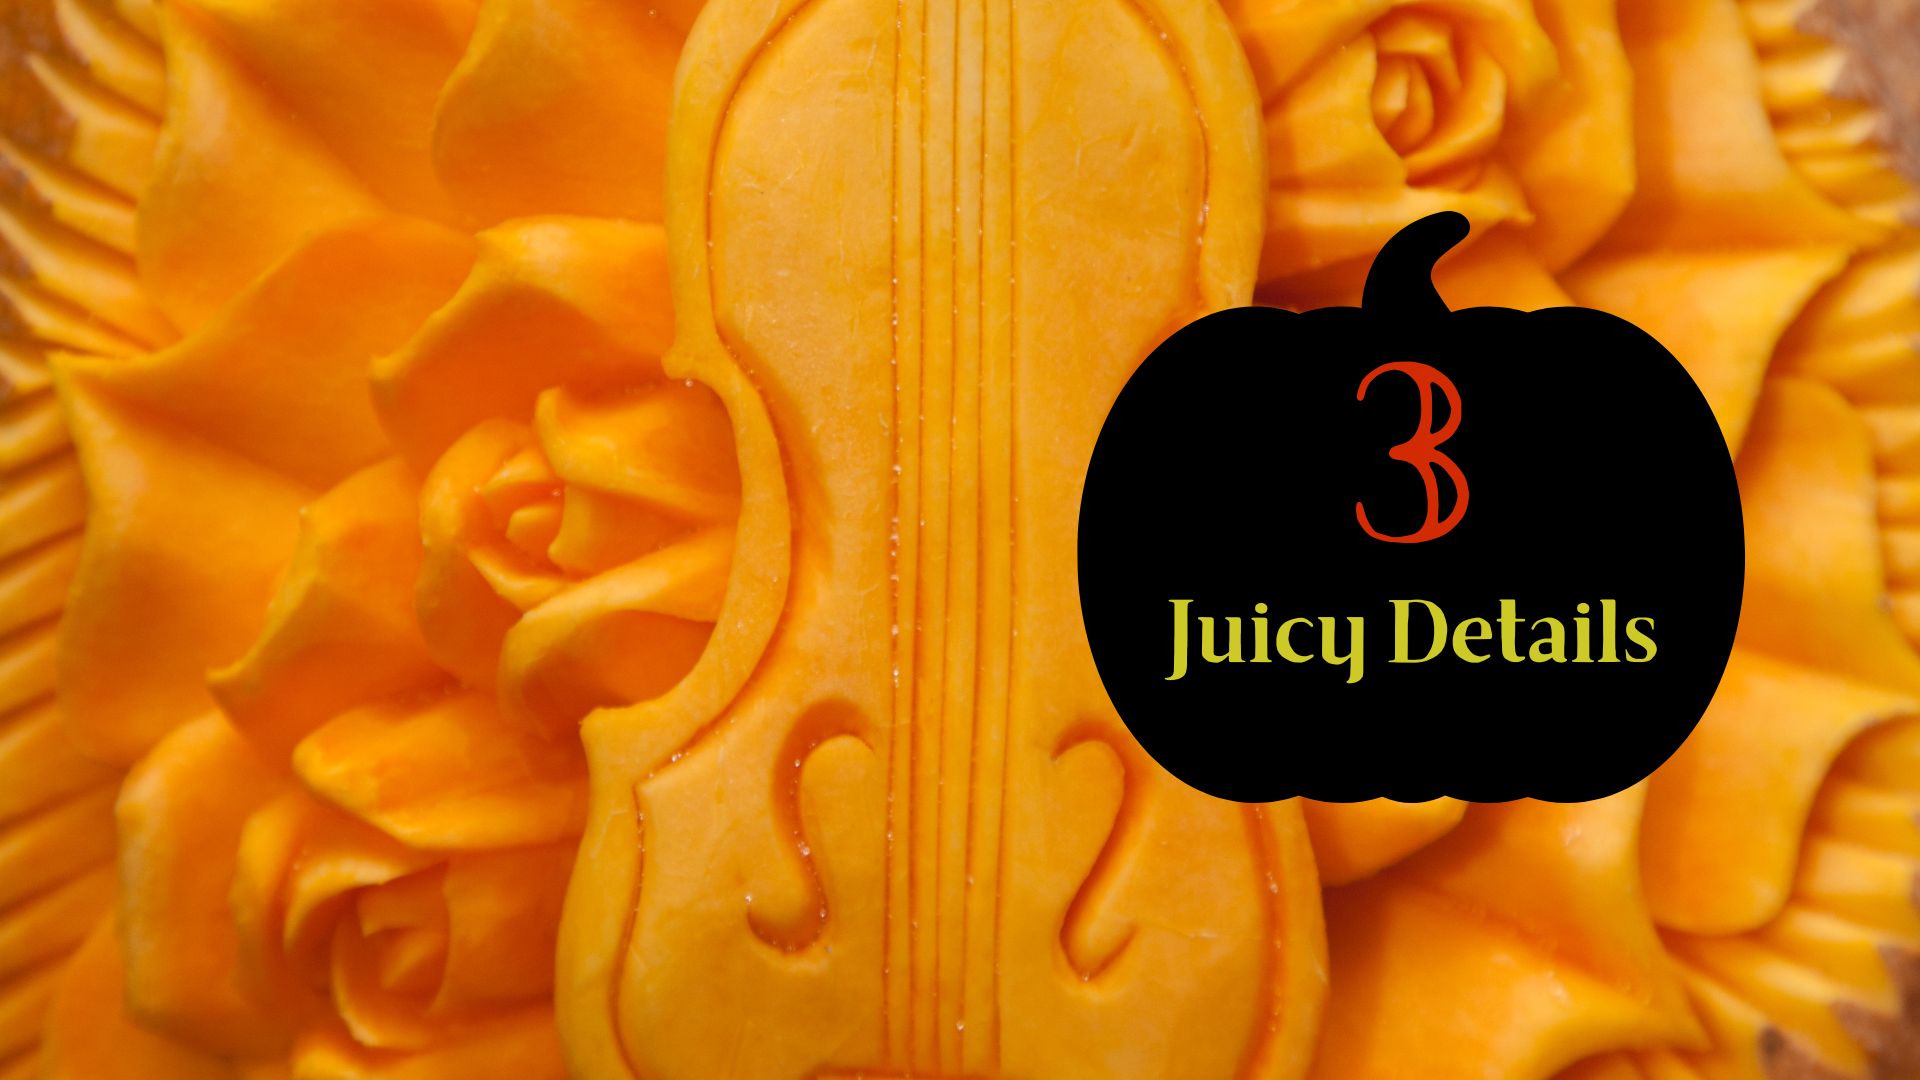
You want to kind of strategize the logistics of the carve to avoid breakage.
First, etch the gray areas you plan on utilizing a linocut, a wood cutter, or an engraver without intention of carving through the pumpkin.
Second, use a fine saw to carve the places of the outline where there are intricate details or patterns. Start and stop at the complexities.
Third, hit up the places of the stencil where there are small removals, such as the eyes, nose, mouth, fingers, neck and shoulders. Cut into the bigger shape you are cutting out as you please to remove the more intricate pieces.
Big Carve the remainder
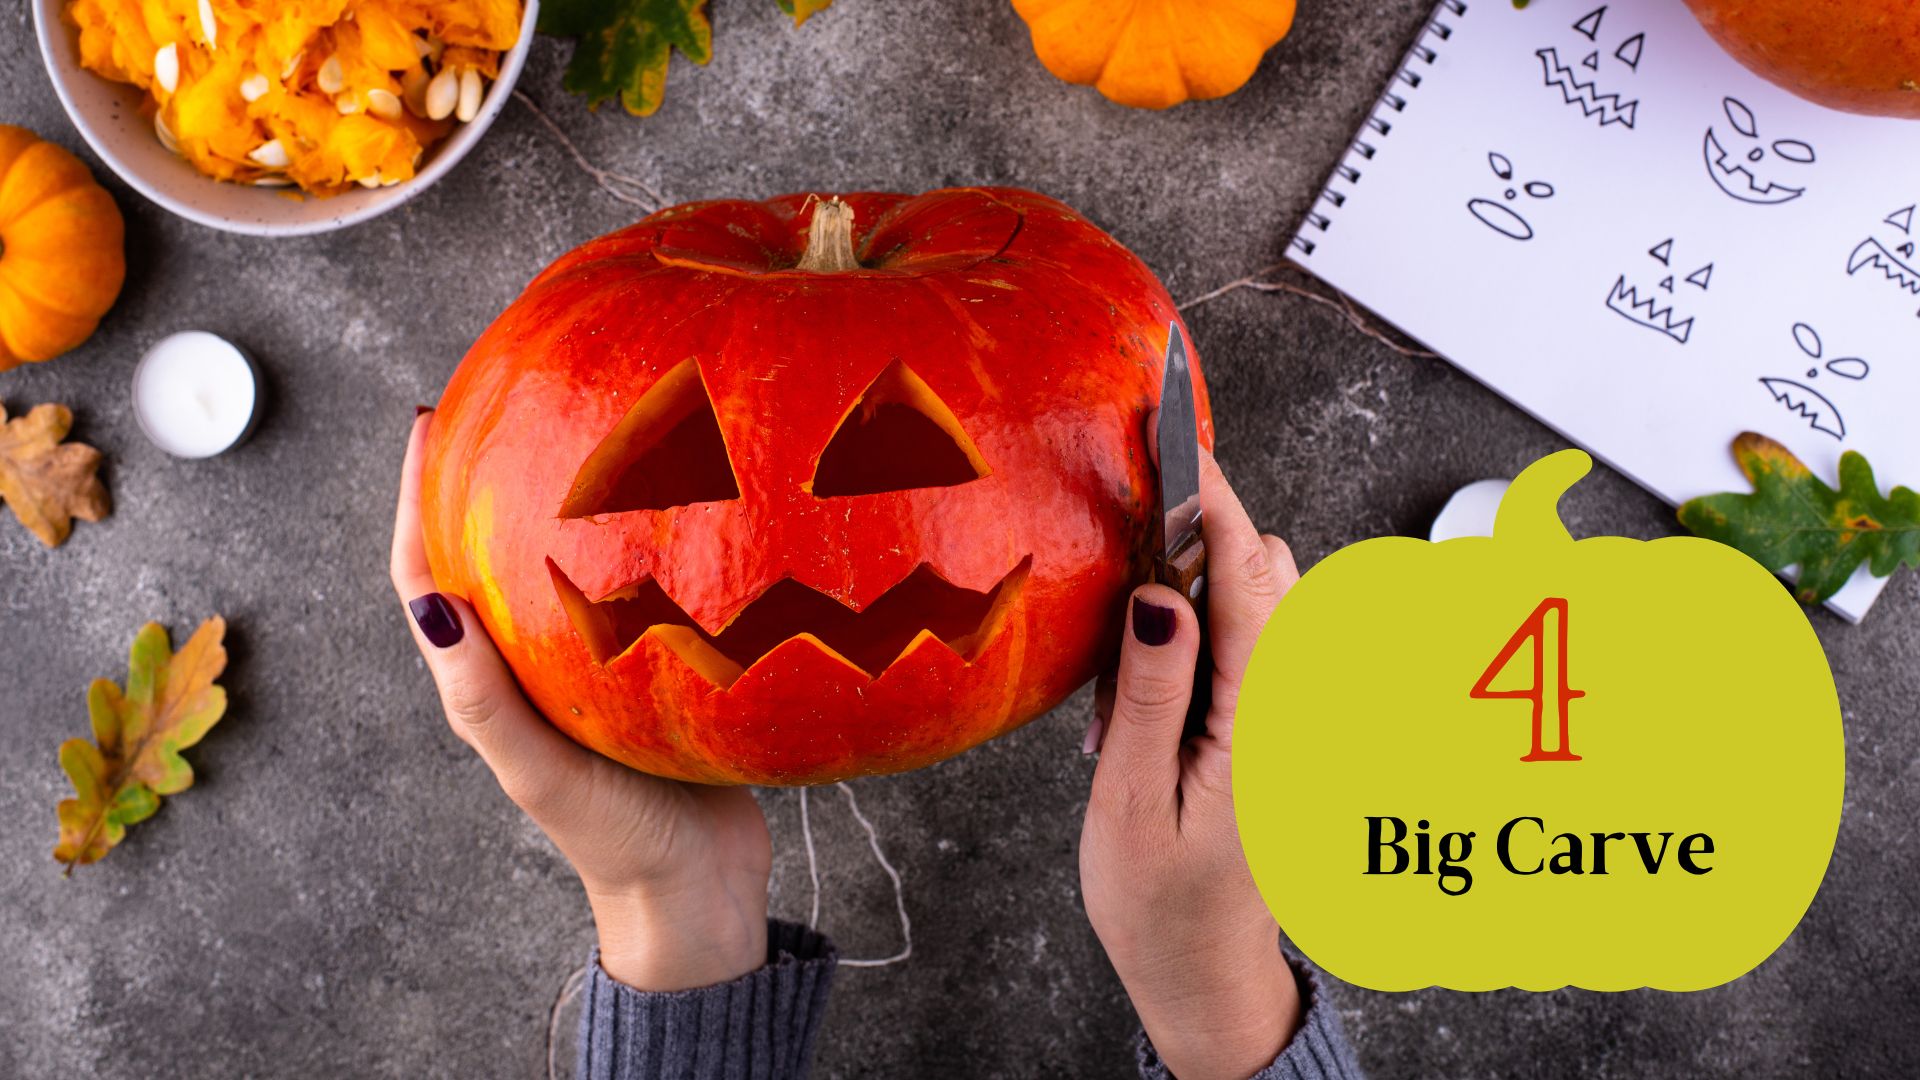
Now that you have the intricate details worked out, you are ready to move onto the bigger pieces. Carve around the remainder of the stencil and remove all the pieces.
You may want to go through and clean up some edges with an exacto knife.
Be Extra if you wish

This is a very optional step, but at this point, you can do other things to your jack o lantern. You can paint it. Add stickers. Add bling. Anything your creative heart can concoct. Like maybe he needs a beanie, or a Fedora. Or a plastic spider crawling on his head.
You could almost walk through the craft aisle and Seasonal Halloween Decor and spend a fortune on the possibilities (or spend a lot of time talking yourself out of buying things).
Light it Up
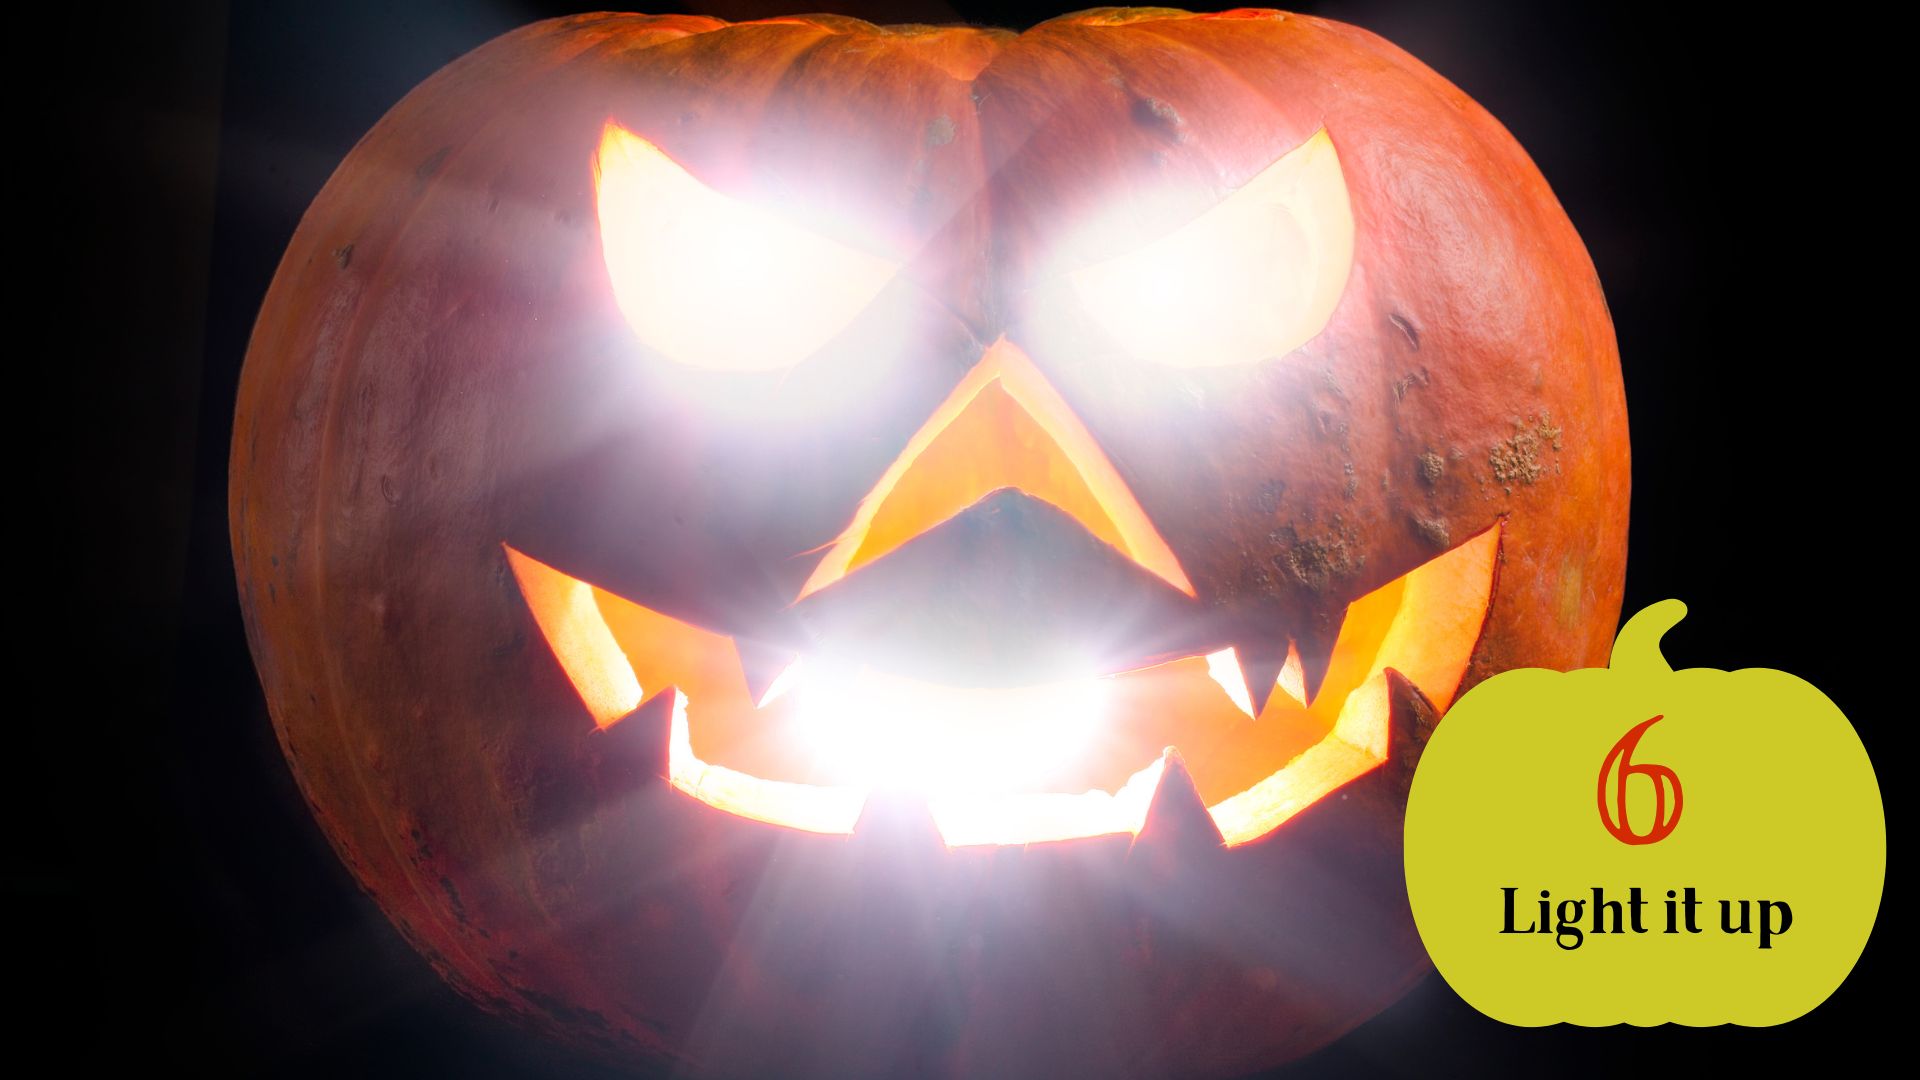
For fire safety, we recommend battery operated electrical lighting. Most seasonal sections of stores like Walmart or Dollar General offer an array of battery operated pumpkin votives. If you have a lot of intricate details and small spaces and possible linocut carvings, you may want to get the one that has the brightest glow.
Additionally, you can find stringed lights in the craft section that are battery operated, especially if your design poked holes that you could insert some lights into.
If you used any flammable material with your pumpkin such as spray paint, you definitely want to opt for safe battery-operated lighting.
Pro-Pumpkin Sculpting
If you are ready for some next-level ish, you can totally get your game on beyond etching into 3D sculptures. Pinterest is loaded with super creative ideas for carving pumpkins that are beyond amazing. I bet attempting these methods, you may surprise yourself.
I am not one to have gone this far yet, and if I do, it will be these videos who taught me how to carve a pumpkin.
First one is a guy promoting his own tools, but he shows you exactly how to use them. Be careful, that small one breaks easily.
Then this second video shows a guy carving a pumpkin from beginning to end to music that reminds me of a Sonic video game (which I kind of like their music preferences). Then he air brushes on the pumpkin greens and purples to give it a ghastly festive look.